Cost Allocation
As cloud usage grows across teams, understanding who is responsible for which costs becomes critical to maintaining financial control and accountability.
What is cost allocation and why does it matter?
Cloud cost allocation consists of distributing cloud expenses across departments, projects, or cost centers. It provides visibility into resource usage and ownership, enabling better cost control, budgeting, and optimization.
To allocate costs effectively, you need a clear cost structure.
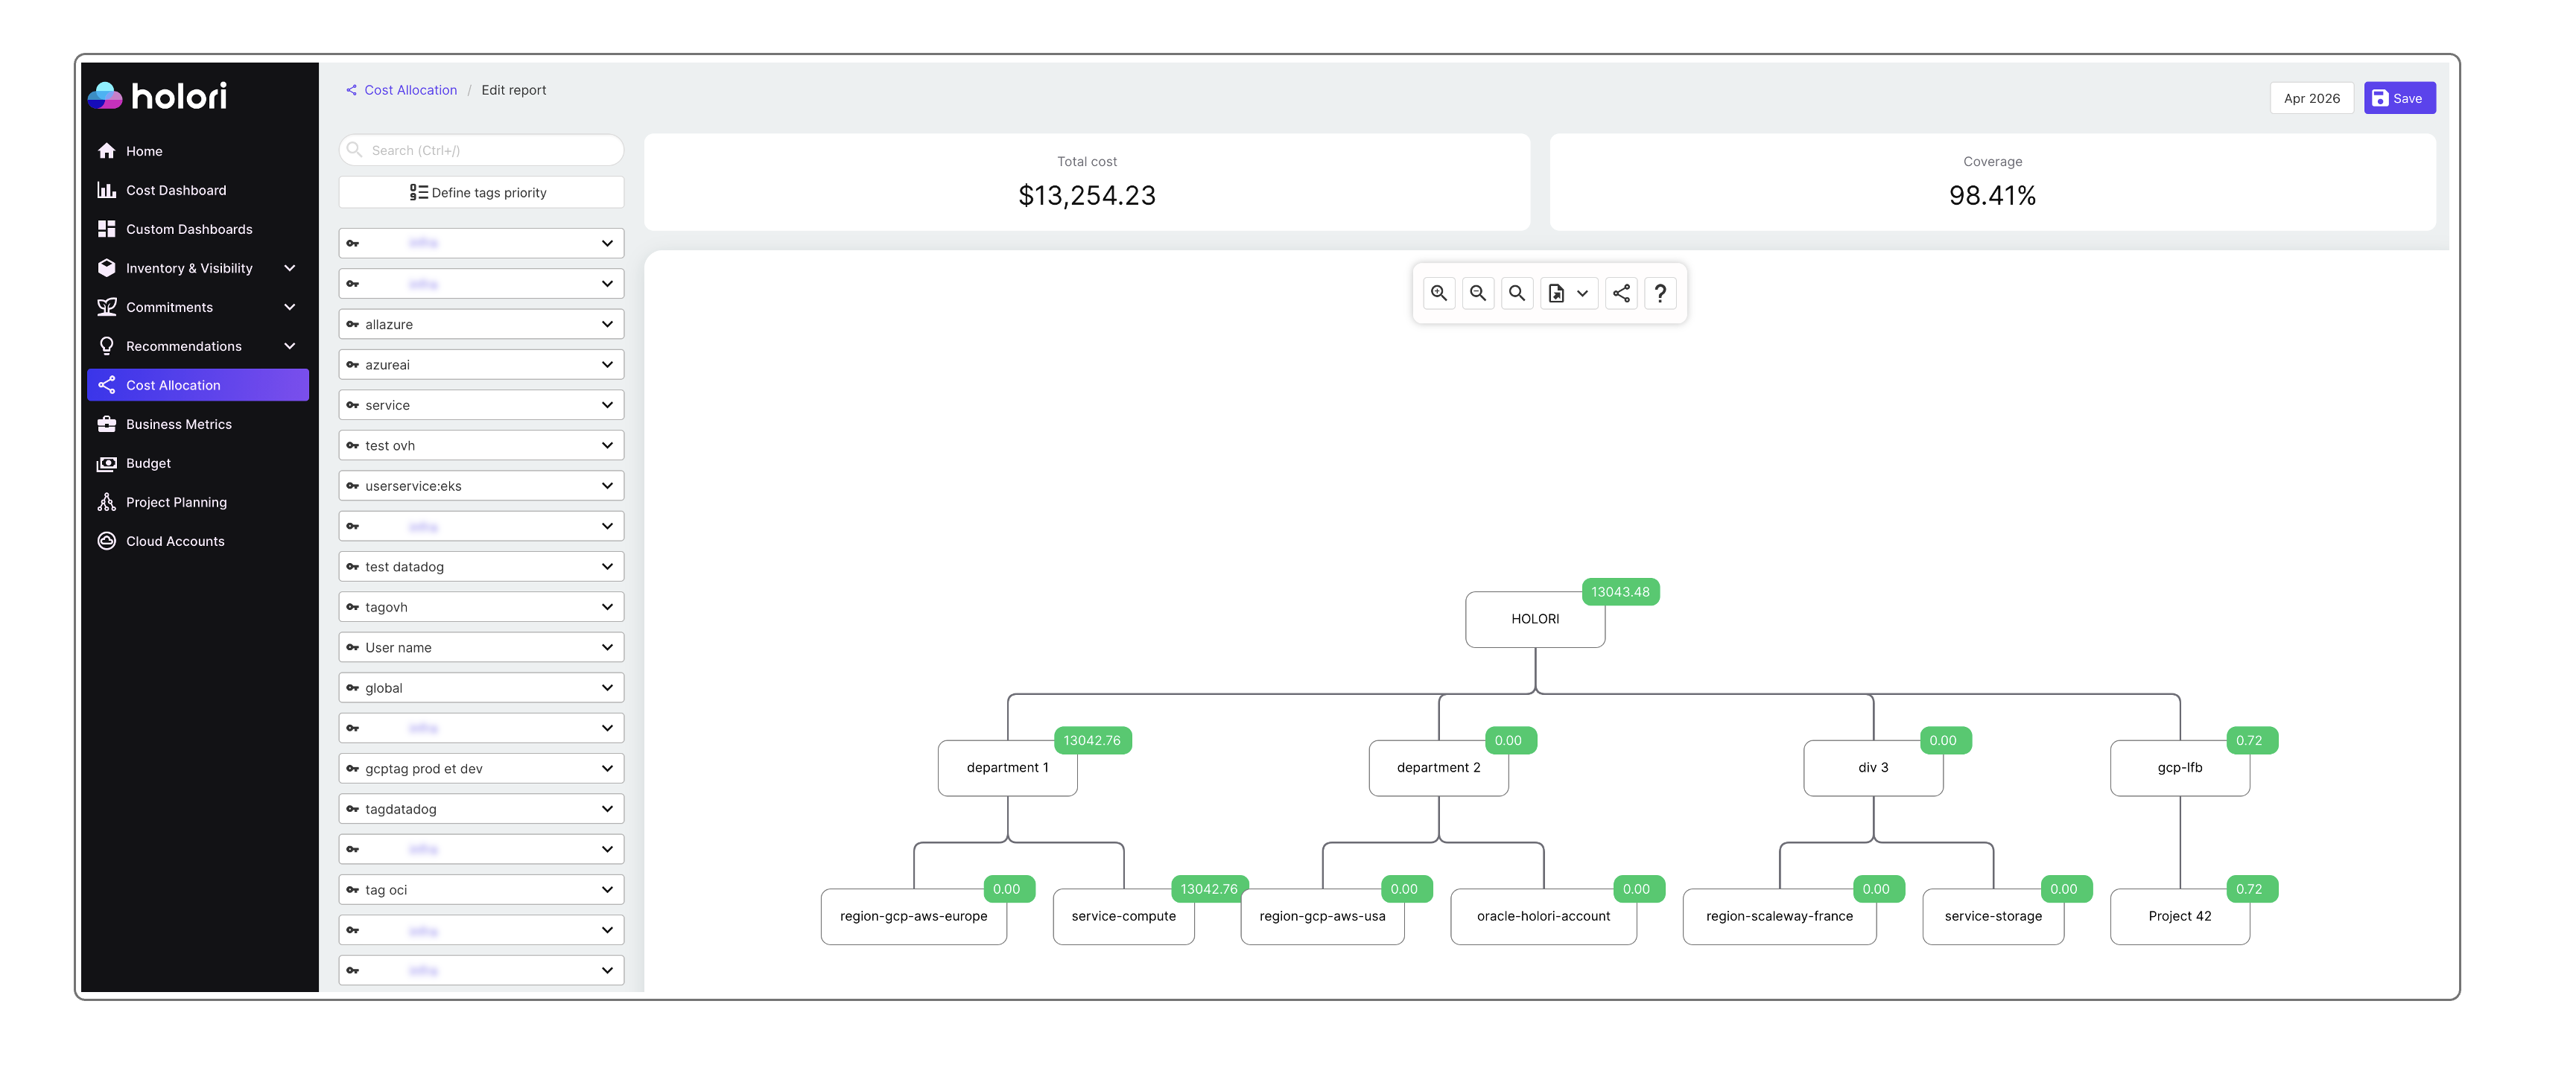
Holori simplifies this process with an org chart-based approach.
With Holori, you can model your organization using a hierarchy of cost centers (segments). These can represent teams, departments, projects, or any structure that reflects how your company operates. You are free to create as many segments as needed.
Use Virtual Tags to simplify cost allocation
Virtual Tags are a core concept for cost allocation. Make sure you understand them before proceeding.
Virtual tags are essential for building a reliable allocation strategy:
- Consistency: Standardize tagging across cloud providers, even when native tags differ
- Flexibility: Allow non-technical teams to manage cost attribution without engineering support
Example
Suppose your company runs Project Hawaii across multiple providers (e.g., GCP and OCI).
Instead of relying on inconsistent provider tags, you can create a virtual tag grouping all related resources. This allows you to allocate costs in one step to the appropriate segment.
Virtual Tags can also be reused across the platform for filtering, reporting, and budgeting.
If you already use provider tags, it is recommended to convert them into Virtual Tags for consistency.
Get started
In the Holori app, open "Cost Allocation" from the left menu.
Click "+ Create your first cost allocation segment".

Select a time period
Cost allocation is managed month by month.
Choose the starting month (e.g., November 2025 if you are currently in June 2026).

Configurations automatically carry over to future months unless modified.
It is recommended to start from the oldest month so that your structure propagates forward.
Define your cost structure
The page is divided into three areas:
-
Top section
Shows total cloud costs and allocation coverage for the selected month
Aim to reach close to 100% allocation -
Left panel
Displays available virtual tags (searchable) -
Center area
Org chart builder
Build your org chart
A root segment is created by default.
You can then:
- Rename a segment: double-click
- Add a child: select a segment and click "+"
- Create multiple levels: repeat as needed
- Delete a segment: select and click "-"
Allocate costs with drag and drop
To allocate costs:
- Select a virtual tag from the left panel
- Drag and drop it onto a segment
By default, 100% of the cost is assigned.
Visualize and split allocations
- Hover over a segment to see how many tags are assigned
- Enable "Show segments allocation" to display all indicators
- Click an indicator to view detailed allocations
Split costs between segments
You can distribute costs across multiple segments.
Example: $100 resource shared between Segment A and B
- Drag resource to Segment A → 100% allocated
- Open allocation details
- Change allocation to 50%
- Drag resource to Segment B → remaining 50% assigned
Repeat if more segments are involved.
Additional options
Tag priorities
Click "Define tags priority".
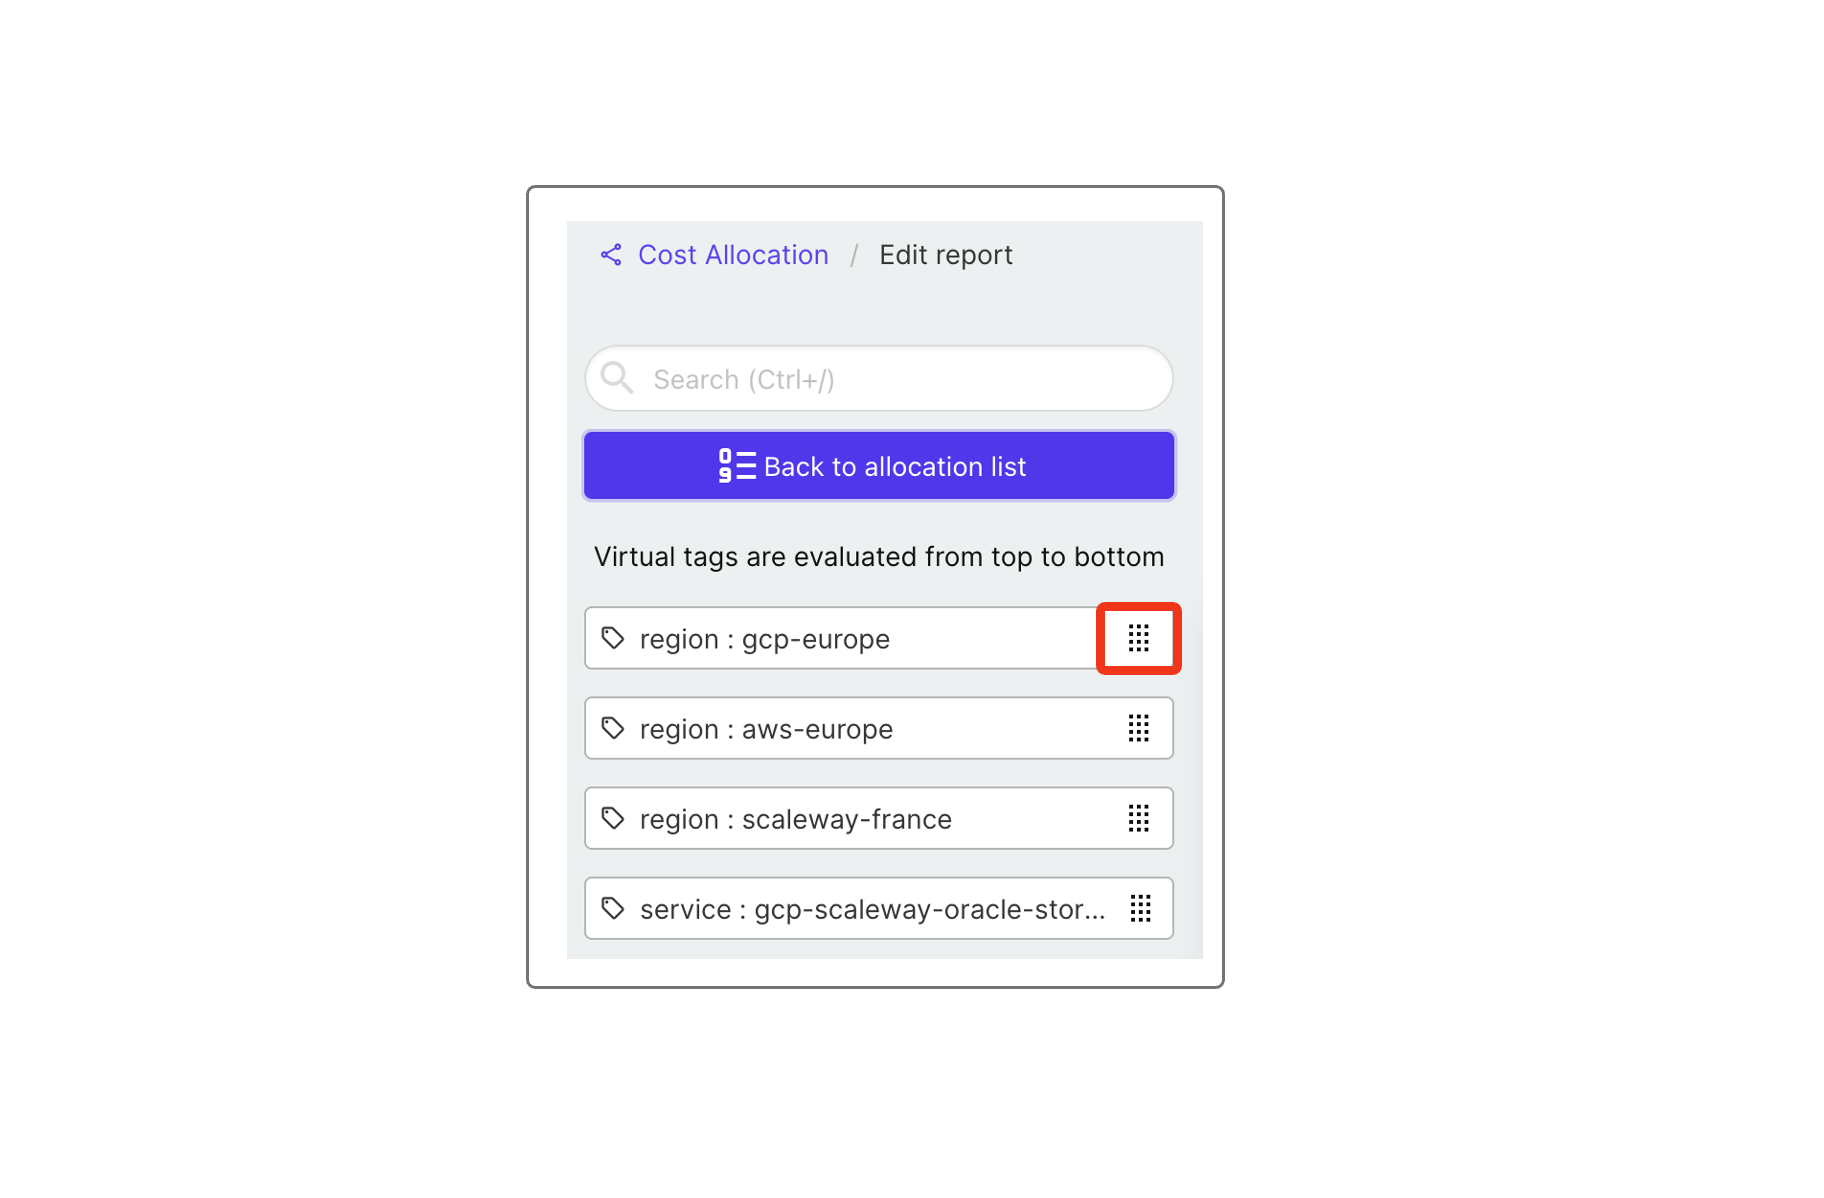
Reorder tags to define allocation priority.
Example:
If Environment: Prod is above Service: EC2, production costs are allocated first.
Other features
From the top menu bar, you can:
- Export reports (image, CSV, PDF)
- Enable segments allocation view:
- Shows number of tags per segment
- Click to explore details
Your allocation structure is automatically reused for future months.
If nothing changes, simply create and save the next report.