Cost reports and filters
Create cloud cost reports using filters and views
Creating useful cloud cost reports often comes down to the fine selection of the elements you need to track and combining them into an easy to read material.
Manage filters and saved views
Accross the Homepage, Cost Dashboard and Inventory, a common Views/Filters element is located on top of the page.
Click on "+ Add filter":

Then, select the first filter from the list:
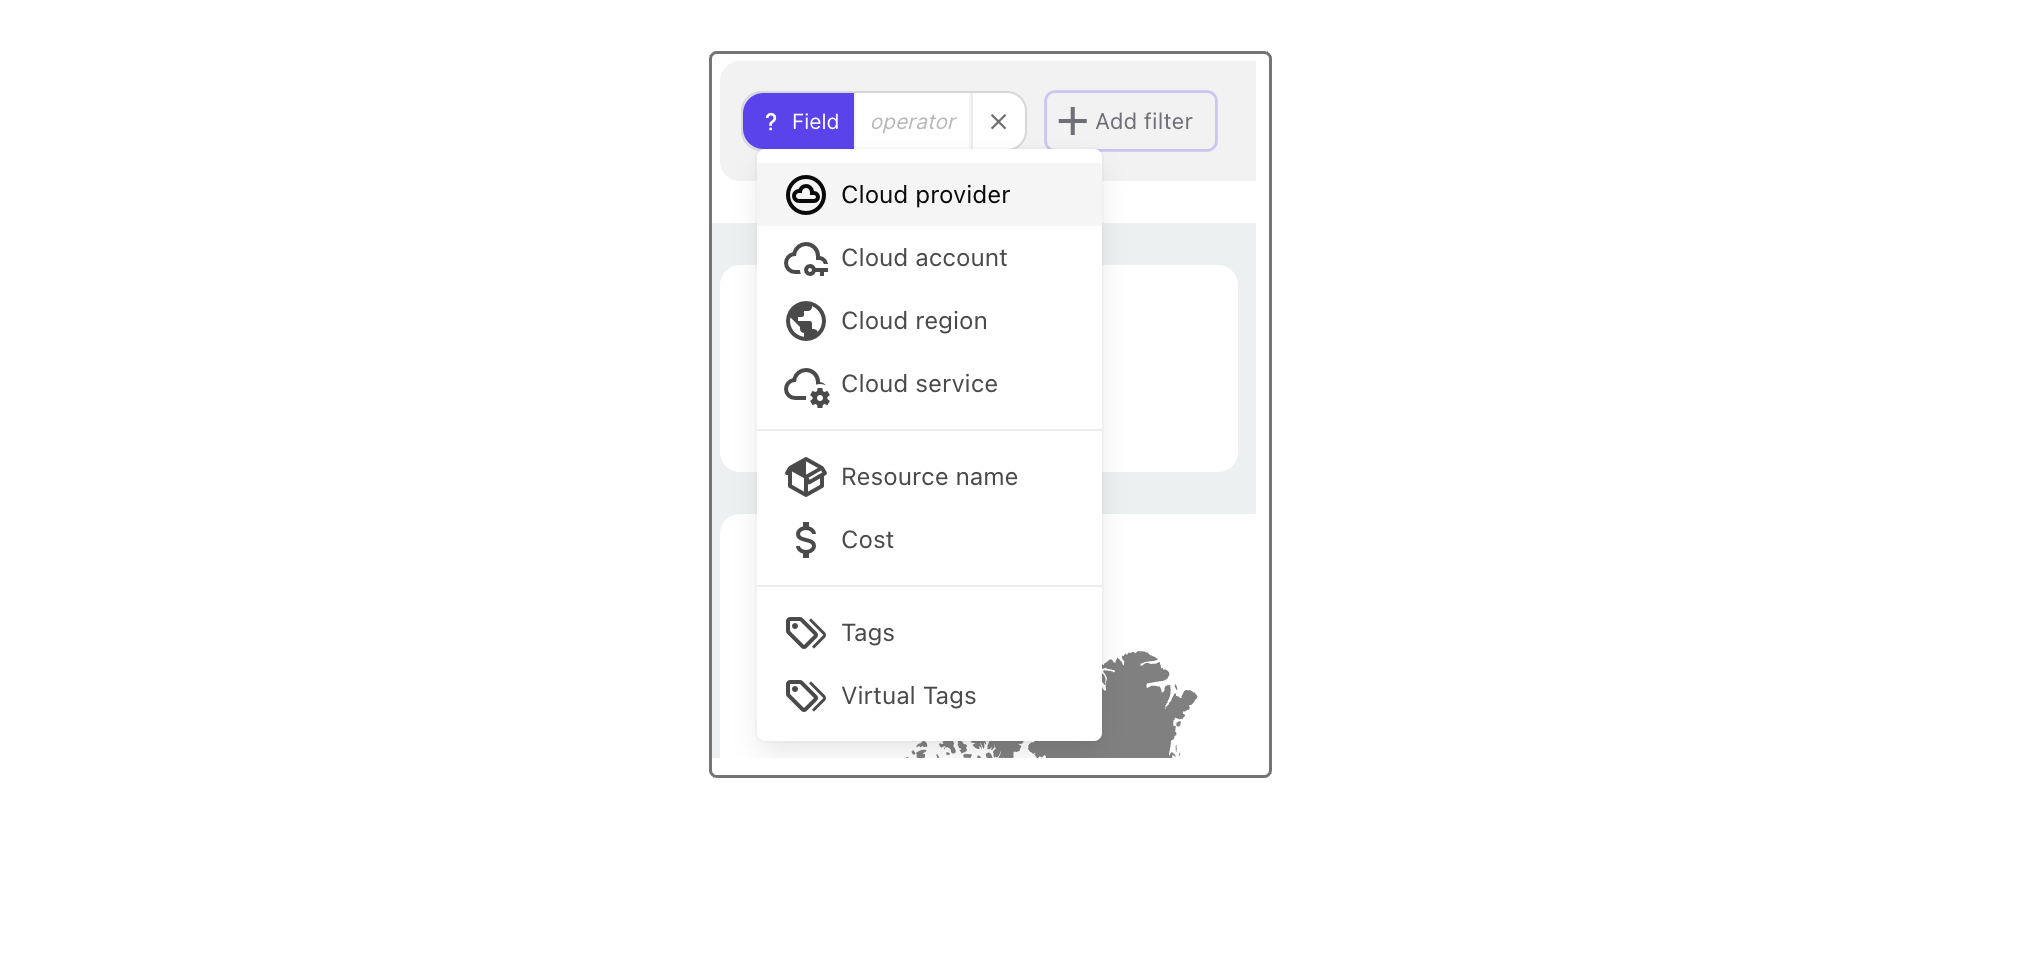
Then, define what you want to include as variable. For example, for a cloud provider you can specify if you only want to focus on one using "is" and selecting the one you want, or select all but one choosing "is not". You can select multiple elements, for example cloud providers, by selecting multiple choices from the list.
Multiple filters can be cumulated.
Once your are satisfied with your filters choice, select "Apply filters" on the right.
You notice that the entire page is updated to reflect your filters choice.
Tag filtering and untagged resource analysis
Holori provides advanced tag filtering capabilities in the Cost Dashboard to simplify cost allocation analysis and identify untagged resources.
Filter by tag
Tags can be used as filters to focus your analysis on specific environments, teams, owners, projects, or any other tagging strategy implemented in your cloud accounts.
When selecting a tag key in the filter panel, Holori automatically displays only the values associated with the selected tag key.
Multiple values can be selected simultaneously.
Example:
- Environment = Production
- Environment = Staging
Group by tag
The Group by Tag option allows you to visualize costs aggregated by tag keys and their associated values.
This makes it easy to understand how cloud costs are distributed across environments, teams, projects, or business units.
Example:
- Environment → Production
- Environment → Staging
- Team → FinOps
Display only filtered tags
When enabled, the Display only filtered tags option restricts the visualization to the tag values matching the current filter selection.
When disabled, all available values associated with the selected tag key are displayed.
This option is particularly useful when focusing on a subset of tag values while excluding unrelated data from the report.
Tag operators
Holori supports multiple operators to facilitate tag analysis.
Has values
This operator filters resources where the selected tag key contains a value.
When combined with Group by Tag, the dashboard displays all available values associated with the selected tag key.
Example:
- Owner → Has values
Result:
Displays all resources where the Owner tag is populated.
Has no values
This operator filters resources where the selected tag key exists but its value is empty.
When combined with Group by Tag, the dashboard displays resources with empty values for the selected tag key.
Example:
- Owner → Has no values
Result:
Displays resources where the Owner tag is present but empty.
Analyze untagged resources
The Untagged filter allows you to identify cloud costs and resources that do not have tags assigned.
This filter can be combined with various grouping dimensions, including:
- Service
- Resource Name
- Account
- Region
- Provider
Using the Untagged filter helps identify resources that do not comply with tagging policies and highlights opportunities to improve cost allocation.
Export untagged resources
To export a list of untagged resources:
- Select a cloud provider.
- Apply the Untagged filter.
- Set Group by to Resource Name.
- Export the results as a CSV file.
This workflow provides a simple way to identify resources requiring remediation and improve cloud governance practices.
Save Your Filters
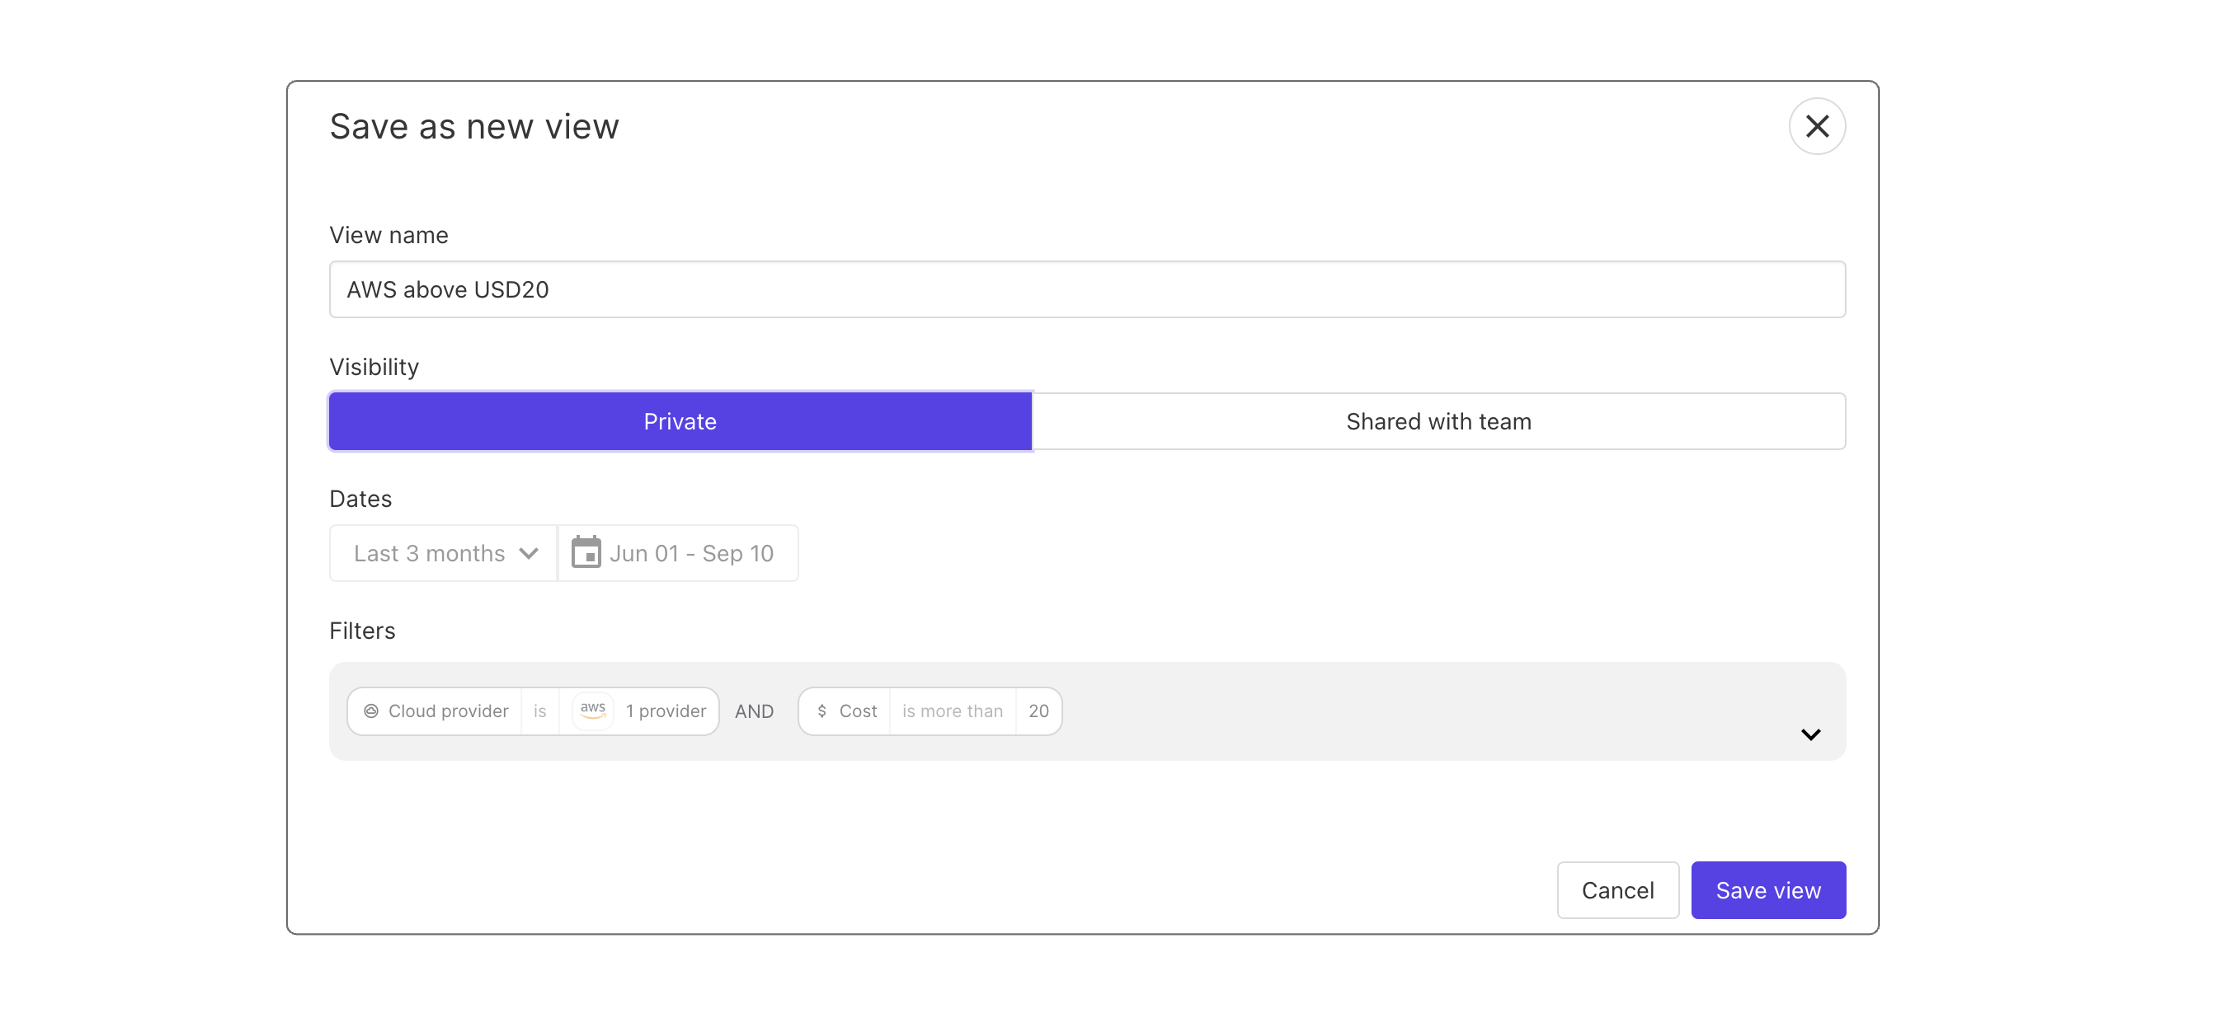
Once you are satistfied with the filters you created, select the "Save view" button on top of the page.
Give the view a name, select a visibility between "Private" or "Shared with team" and click on "Save".
Saved views
Use the drop down menu next to the "Save filter" button to see a list of all your saved filters. Select any filter from to list to start using it.
Next to each saved view is a red delete icon.